Product Overview
The 2.4G Wireless Controller is a versatile gamepad designed for enhanced gaming experiences. It features a sleek, ergonomic design and supports wireless connectivity up to 10 meters. With customizable buttons, vibration modes, and a long-lasting battery, it ensures seamless gameplay across devices.
1.1 Key Features of the 2.4G Wireless Controller
The 2.4G Wireless Controller boasts a 10-meter wireless range, ergonomic design, and customizable buttons. It features dual vibration motors for immersive feedback, long-lasting battery life, and compatibility with multiple devices. The gamepad includes LED indicators, a sleep mode for power saving, and a plug-and-play receiver for hassle-free connectivity. Its design ensures comfort during extended gaming sessions.
1.2 Benefits of Using a Wireless Gamepad
A wireless gamepad offers unmatched convenience, eliminating cable clutter and providing a seamless gaming experience. It allows for greater mobility, letting you play from up to 10 meters away. The ergonomic design enhances comfort during long sessions, while customizable buttons and vibration modes ensure personalized gameplay. It also supports multi-device connectivity, making it versatile for various gaming setups.
System Requirements
The 2.4G Wireless Controller requires a Windows XP to Windows 10 operating system and a USB port for connectivity. No additional drivers are needed beyond the provided CD.
2.1 Compatible Operating Systems
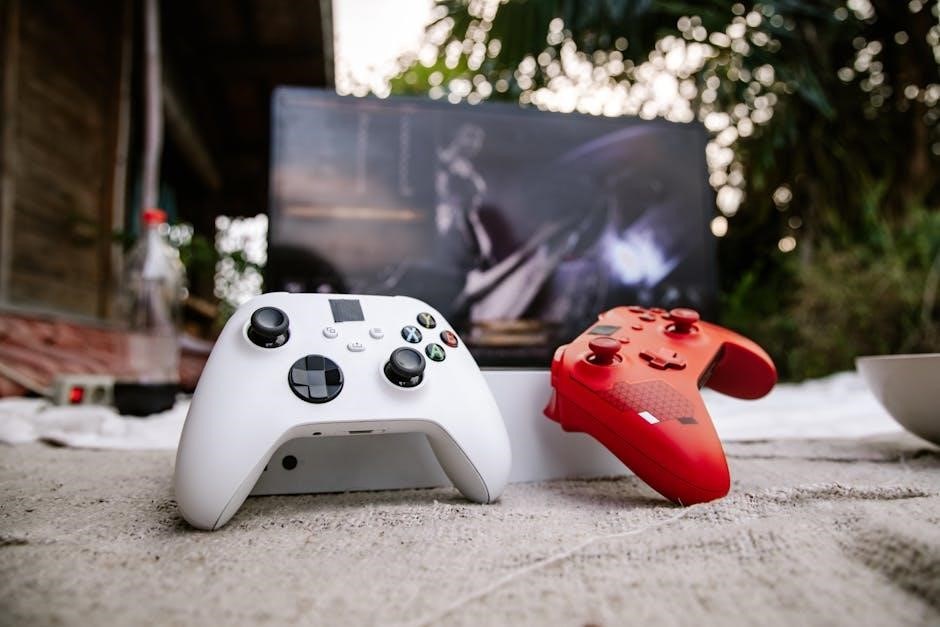
The 2.4G Wireless Controller is compatible with Windows XP, Windows 7, Windows 8, Windows 8.1, and Windows 10 operating systems. It also supports connection to PlayStation and Xbox consoles. The controller operates seamlessly with these systems, ensuring a plug-and-play experience for Windows devices without requiring additional drivers.
2.2 Hardware Requirements for Connectivity
For optimal connectivity, ensure your device has a compatible operating system (Windows XP to Windows 10) and an available USB port. The 2.4G wireless receiver plugs into the USB port, enabling wireless communication. A stable connection is maintained up to 10 meters, with minimal interference. Ensure the receiver is properly plugged in and drivers are installed for seamless operation.
Installation and Setup
Begin by unboxing the controller, receiver, USB cable, and user manual. Ensure all components are included and in good condition. Proceed to install the driver from the provided CD for optimal functionality.
Insert the CD into your computer, navigate to the setup file, and follow on-screen instructions to complete the software installation. This ensures proper connectivity and performance.
3.1 Unboxing and Hardware Components
Inside the box, you’ll find the 2.4G wireless gamepad, a USB wireless receiver, a USB charging cable, a CD containing drivers and software, and a user manual. Additional items may include a charging dock or extra accessories, depending on the package. Ensure all components are accounted for before proceeding with setup.
3.2 Software Installation from the Provided CD
Insert the provided CD into your computer’s CD-ROM drive. Navigate to the CD directory and double-click on the Setup.exe file. Follow the on-screen installation wizard to install the necessary drivers and software. Once installed, restart your system to ensure proper driver integration. The CD contains essential drivers for optimal controller performance and customization options.
3.3 Driver Installation for Optimal Performance
Insert the provided CD into your computer and navigate to the driver installation folder. Double-click Setup and follow the on-screen instructions to install the Cosmic Byte driver; Ensure all components are selected for a complete installation. Once installed, restart your system to apply changes. For optimal performance, avoid interrupting the installation process and ensure a stable internet connection for any potential updates. If issues arise, reconnect the USB receiver and restart the driver installation.
Connecting the Controller
Turn on the controller and press and hold the select button for 3 seconds. The blue LED will blink rapidly. Move the controller close to the receiver to establish a connection. Follow the user manual for detailed pairing instructions to ensure a stable wireless link.
4.1 Pairing the Controller with the Receiver
To pair the 2.4G Wireless Controller with the receiver, turn on the controller and press the SELECT button for 3 seconds until the LED blinks rapidly. Move the controller close to the receiver and ensure it is properly connected to the device. The pairing process is automatic, and the LED will stabilize once connected. If issues arise, press the RESET button on the controller to retry pairing.
4.2 Troubleshooting Connection Issues
If the controller fails to connect, ensure it is turned on and the receiver is properly plugged in. Press the reset button on the controller, and restart both the controller and device. Check for wireless interference or obstructions. If issues persist, power cycle the controller by turning it off and on again. Verify firmware updates are installed for optimal connectivity.
Customizing Controller Settings
Customize button mappings and create profiles for personalized gaming experiences. Adjust vibration modes to enhance immersion. Settings are stored in memory for consistent performance across sessions.
5.1 Button Mapping and Profile Customization
The 2.4G Wireless Controller allows users to customize button mappings and save up to three distinct profiles. Players can reprogram buttons to suit their preferences and switch profiles seamlessly using the profile button. This feature enhances gaming flexibility, enabling personalized control schemes for different games or playstyles. Custom settings are stored in the gamepad’s memory for consistent use across sessions.
5.2 Adjusting Vibration Modes
Adjusting vibration modes on the 2.4G Wireless Controller enhances gaming immersion. Users can enable or disable vibration through the installed driver software. The controller features dual motors for strong feedback. Accessing settings via the control panel allows customization of vibration intensity, ensuring optimal tactile response during gameplay.

Operating Instructions
This section provides essential guidance on basic operations, including turning the controller on/off, managing sleep mode, and navigating the intuitive control layout for seamless gaming.
6.1 Power Management: On/Off and Sleep Mode
The 2.4G Wireless Controller features efficient power management. To turn it on, press the HOME button. To turn it off, press and hold the BACK button for 5 seconds. The controller enters sleep mode after 5 minutes of inactivity to conserve battery. The LED indicator blinks during sleep mode. This feature ensures extended battery life and seamless gaming experiences.
6.2 Navigating the Controller Layout
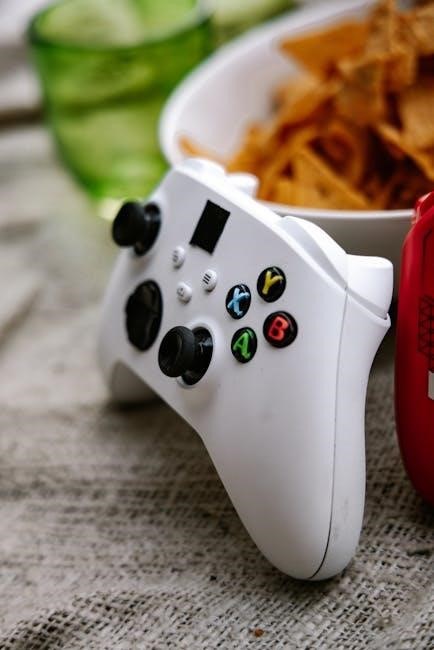
The controller features a intuitive layout with a directional pad, analog sticks, and face buttons for easy access. The Home button powers on/off, while the Back button accesses menus. R and ZR buttons provide additional controls. LED indicators show connection status, and vibration motors enhance feedback. Ergonomic design ensures comfort during extended gaming sessions.
Advanced Features
The 2.4G Wireless Controller offers advanced features like customizable button mapping, adjustable vibration modes, and programmable profiles. These settings enhance gameplay personalization and user experience significantly.
7.1 Firmware Upgrade Process
To upgrade the firmware, connect the controller to your computer using the USB cable. Download the latest firmware from the official website and follow the on-screen instructions. Ensure the controller is fully charged and avoid interrupting the update process. Once completed, the controller will restart with improved functionality and performance.
7.2 Resetting the Controller to Default Settings
To reset the controller to its default settings, press and hold the RESET button located on the back of the gamepad for 5 seconds. The red LED will flash, indicating the reset process is complete. This action will restore all settings to their original configuration, including button mappings and vibration modes. Note that custom profiles will be erased. Refer to the manual for additional guidance.

Battery and Charging
The gamepad features a rechargeable battery with USB charging support. It provides up to 10 hours of continuous use and charges fully in 2-3 hours. Avoid overcharging to extend battery life.
8.1 Charging Methods and Best Practices
To charge the 2.4G Wireless Controller, use the provided USB charging cable. Connect the controller to a USB port or adapter. The LED indicator will glow red during charging and turn off when fully charged. Avoid overcharging to prolong battery life. For optimal performance, charge the controller when the battery level is low. Store the controller in a cool, dry place when not in use.
8.2 Optimizing Battery Life
To optimize the battery life of your 2.4G Wireless Controller, avoid overcharging and store it in a cool, dry place when not in use. Enable power-saving mode to reduce vibration and LED intensity. Charge the controller fully before extended gaming sessions. Regularly update firmware to improve energy efficiency and ensure optimal performance.

Troubleshooting Common Issues
Common issues include connection failures and LED indicator problems. Resetting the controller often resolves these. Ensure the device is fully charged and paired correctly.
For persistent problems, update firmware or reinstall drivers. Consult the user manual for detailed troubleshooting guides. Ensure the controller is properly synchronized and free from interference.
9.1 Resolving Connection Failures
If the controller fails to connect, ensure the receiver is properly plugged in and the controller is turned on. Press and hold the Reset button on the controller until the red LED blinks. Restart the system, then re-pair the controller by holding the Select button for 3 seconds. Ensure the battery is charged and avoid physical obstructions between the controller and receiver. Power cycle the device if issues persist.
9.2 Fixing LED Indicator Problems
If the LED indicator on your 2.4G Wireless Controller is not functioning properly, restart the controller and ensure it is fully charged. If the issue persists, press and hold the Reset button on the gamepad until the red LED flashes. This process recalibrates the controller and resolves most LED-related issues. For persistent problems, reinstall the driver or contact support.
User Manual Highlights
The manual provides a Quick Start Guide for easy setup and button mapping. It details button functionality and troubleshooting steps to enhance user experience and resolve common issues efficiently.
10.1 Quick Start Guide for First-Time Users
Plug the USB receiver into your device and turn on the controller. Press the HOME button to activate it. Pair the controller by holding the SELECT button for 3 seconds. Install drivers from the provided CD if needed. Charge the controller using the USB cable. Familiarize yourself with the button layout and start gaming!
10.2 Detailed Button Functionality
The controller features a comprehensive layout with buttons designed for intuitive operation. The Home key accesses the main menu, while ABXY buttons handle primary actions. The joystick enables precise movement control, and the D-pad provides directional navigation. Triggers and shoulder buttons offer additional inputs for gameplay, ensuring a responsive and immersive experience.
Frequently Asked Questions
11.1 Can I Use the Controller with Multiple Devices?
Yes, the 2.4G Wireless Controller can connect to multiple devices, but ensure proper pairing and compatibility with each device for optimal performance.
11.2 How Do I Update the Controller Firmware?
Update the firmware using the software provided on the CD or downloaded from the official website. Follow on-screen instructions for a smooth upgrade process.
Yes, the 2.4G Wireless Controller can be used with multiple devices, including PCs, consoles, and TVs. It supports Plug-N-Play functionality, allowing easy switching between devices. The controller is compatible with Windows XP to Windows 10 and works seamlessly with USB ports. This versatility makes it ideal for gaming across different platforms without needing additional drivers or complex setups.
To update the firmware, connect the controller to your PC via USB. Download the latest firmware from the official website and follow the on-screen instructions. Ensure the controller is fully charged and the LED indicator blinks during the update. The process is straightforward and ensures optimal performance and compatibility with your gaming setup.
Warranty and Support
The 2.4G Wireless Controller is backed by a limited warranty covering manufacturing defects. For support, contact customer service via email or visit the official website for assistance.
12.1 Warranty Terms and Conditions
The 2.4G Wireless Controller is covered by a limited warranty for a period of one year from the date of purchase. The warranty covers manufacturing defects in materials and workmanship. Damage caused by misuse, tampering, or normal wear and tear is not covered. For warranty claims, contact customer support with proof of purchase and a detailed description of the issue.
- Warranty period: 1 year from purchase date.
- Covers manufacturing defects only.
- Damage from misuse or tampering is excluded.
12.2 Contacting Customer Support
For assistance with your 2.4G Wireless Controller, contact our customer support team via email at support@cosmicbyte.com or through the online support form on our official website. Include your order number, product serial number, and a detailed description of the issue. Response times are typically within 24-48 hours. Phone support is also available during business hours at +1-800-123-4567.
- Email: support@cosmicbyte.com
- Phone: +1-800-123-4567 (Mon-Fri, 9AM-5PM)
- Online Support Form: Available on the official website.
13.1 Final Tips for Optimal Gaming Experience
For an optimal gaming experience, ensure the controller is fully charged and paired correctly. Maintain a stable connection by keeping the receiver away from interference. Customize button mappings to suit your playstyle and adjust vibration modes for immersive feedback. Regularly update firmware and clean the controller to prevent dust buildup. Store the controller properly when not in use to prolong battery life.
13.2 Importance of Regular Firmware Updates
Regular firmware updates are crucial for maintaining optimal performance and compatibility. Updates often include bug fixes, new features, and improvements for connectivity and battery life. They ensure the controller remains compatible with the latest software and hardware, enhancing overall gaming experiences. Keeping the firmware up-to-date also prevents potential issues and ensures the controller operates at its best capacity;