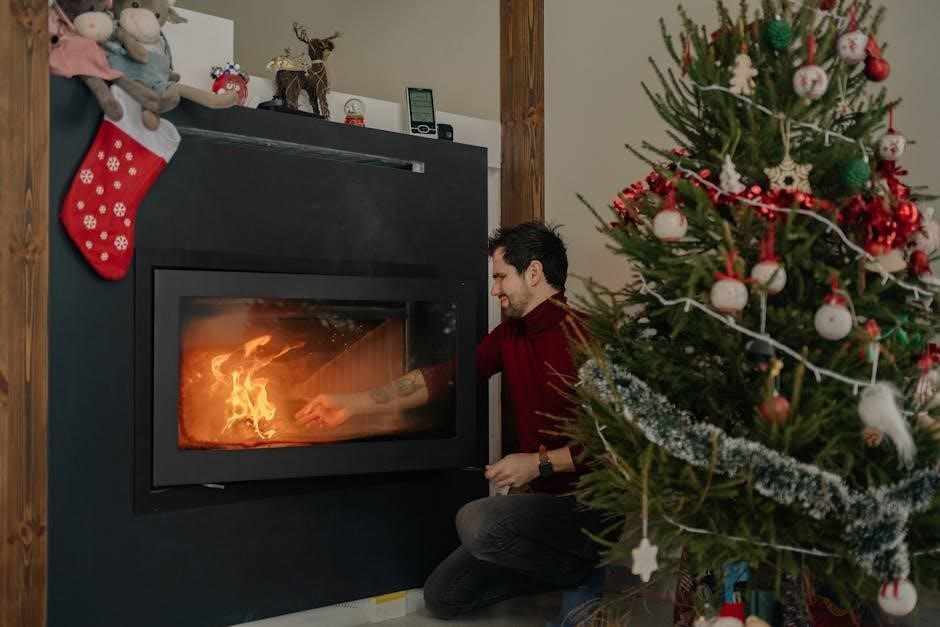
Mantel Mount installation offers a sleek‚ modern TV display above your fireplace‚ enhancing viewing pleasure. Careful preparation and following instructions are key for success.
What is a Mantel Mount?
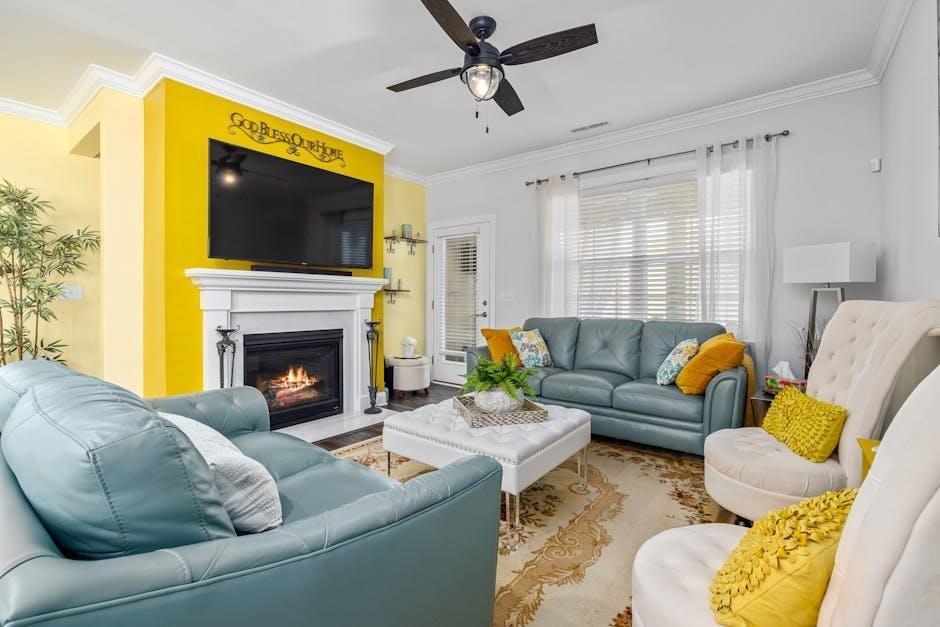
A Mantel Mount is a specialized TV wall mount designed to safely and securely position your television above a fireplace mantel. Unlike traditional mounts‚ it extends outwards‚ allowing for optimal viewing angles even when the TV is placed higher up.
These mounts typically feature a robust system of vertical braces anchored to wall studs‚ supporting a horizontal brace that holds the TV. They offer a clean‚ aesthetically pleasing solution‚ transforming your living space and maximizing enjoyment of your entertainment system. Proper instructions are vital for safe installation.
Benefits of Using a Mantel Mount
Mantel Mounts offer several advantages over standard TV mounts. They create a focal point in your room‚ elevating your viewing experience and maximizing space. Installation‚ following instructions carefully‚ allows for a comfortable viewing angle‚ reducing neck strain.
They also protect your TV from heat rising from the fireplace‚ a crucial consideration. Aesthetically‚ they provide a clean‚ modern look‚ concealing cords and creating a streamlined appearance. Ultimately‚ a Mantel Mount enhances both the functionality and style of your living area.
Types of Mantel Mounts
Instructions vary based on the mount type: Fixed‚ Tilt‚ and Full-Motion. Each offers different adjustability and viewing angles for optimal TV placement.
Fixed Mantel Mounts
Fixed mantel mounts‚ as the name suggests‚ hold your television securely in a static position against the wall. Instructions for these are generally the simplest‚ involving direct attachment to the wall using provided hardware. They are ideal for situations where minimal adjustment is needed and a flush profile is desired.
These mounts offer a clean‚ streamlined look but lack the flexibility of tilting or swiveling. Precise placement during installation is crucial‚ as repositioning afterward is difficult. Always verify stud locations and use appropriate anchors for a secure hold‚ following the manufacturer’s instructions carefully.
Tilt Mantel Mounts
Tilt mantel mounts provide a crucial upgrade in viewing flexibility‚ allowing you to angle your television upwards or downwards. Following instructions closely is vital for optimal performance and safety. This feature is particularly useful above fireplaces to counteract the upward viewing angle.
Installation involves securely attaching the mount to the wall and then connecting the TV bracket. Ensure the tilting mechanism is properly tightened after adjustment. Always double-check weight capacity and use appropriate wall anchors‚ as detailed in the instructions‚ to prevent instability.
Full-Motion Mantel Mounts
Full-motion mantel mounts offer the ultimate in viewing versatility‚ allowing swivel‚ tilt‚ and extension. Precise adherence to the instructions is paramount for safe and effective installation. These mounts are ideal for maximizing viewing angles from various points in the room.
Installation requires careful attention to wall stud placement and secure bracket attachment. Ensure all locking mechanisms are engaged after adjusting the TV’s position. Regularly inspect the mount for stability‚ referencing the instructions for maintenance guidelines‚ and always respect weight limits.
Tools and Materials Needed
Instructions require a stud finder‚ drill‚ level‚ screwdriver‚ and potentially a socket wrench. Gather all hardware‚ including wall anchors‚ before starting installation.
Essential Tools for Installation
Following mantel mount instructions demands specific tools for a secure and aesthetically pleasing result. A high-quality stud finder is paramount for locating wall studs‚ ensuring a robust anchor point. You’ll need a power drill with various bit sizes for pilot holes and screw driving.
A level is crucial for ensuring the TV is perfectly aligned‚ preventing a tilted display. Screwdrivers (Phillips and flathead) are essential for tightening screws. A measuring tape aids in accurate placement‚ and a pencil marks stud locations. Safety glasses protect your eyes during drilling‚ and work gloves offer a better grip.
Hardware Included with Mantel Mounts
Mantel mount instructions typically detail included hardware for a straightforward installation. Expect a set of lag bolts designed for secure attachment to wall studs‚ providing substantial support. Various washers are included to distribute weight and prevent damage to the wall. Spacers may be present to accommodate wall irregularities or create desired spacing.
The kit also contains screws for attaching the mounting brackets to your TV‚ ensuring compatibility with standard VESA patterns. Often‚ wire management clips are provided to conceal cables‚ maintaining a clean appearance. Review the parts list carefully before beginning!
Additional Hardware You Might Need
While mantel mount instructions outline included hardware‚ supplemental items may be necessary. A high-quality drill bit set‚ specifically for the wall type‚ is crucial. If studs are distant‚ consider heavy-duty drywall anchors for added security – though stud mounting is always preferred.
Cable management solutions beyond those provided‚ like cord concealers‚ can improve aesthetics. A level is essential for a perfectly aligned TV. Depending on your setup‚ HDMI cables or optical audio cables might be required for connecting devices.

Pre-Installation Preparation
Mantel mount instructions emphasize careful planning! Locate wall studs‚ identify your wall type‚ and prioritize safety before beginning the installation process.
Stud Finder Usage
Mantel mount instructions consistently highlight the critical importance of accurate stud location. A stud finder is essential for securely attaching the mount’s vertical braces. Begin by calibrating the stud finder according to the manufacturer’s guidelines. Slowly move it horizontally across the wall‚ marking each stud’s edge as detected.
Verify findings by tapping the wall; a solid sound indicates a stud. Multiple passes are recommended for confirmation. Incorrect stud location can compromise the mount’s stability and safety‚ potentially leading to TV damage or injury. Always double-check before drilling!
Wall Type Identification (Drywall‚ Brick‚ Concrete)
Mantel mount instructions emphasize identifying your wall type before installation. Drywall requires robust anchors‚ ideally directly into wall studs for maximum support. Brick and concrete necessitate specialized drill bits and concrete anchors‚ ensuring a secure hold.
Determine your wall type by visual inspection and a simple test: drywall feels soft‚ brick is solid masonry‚ and concrete is extremely hard. Using incorrect hardware for your wall type can lead to mount failure. Prioritize safety and appropriate fasteners!
Safety Precautions Before Starting
Mantel mount instructions strongly advise prioritizing safety. Always disconnect power to the area before beginning installation to avoid electrical hazards. Wear safety glasses to protect your eyes from dust and debris during drilling.
Ensure adequate lighting and a clear workspace. If unsure about any step‚ consult a professional. Never exceed the mount’s weight capacity. Confirm stud locations before drilling‚ and be mindful of hidden wiring or plumbing within the wall. Safety first ensures a successful installation!
Step-by-Step Installation Guide
Mantel mount instructions detail a process: attach braces‚ mount the horizontal support‚ connect wings‚ and finally‚ securely fasten your television to the assembly.
Attaching the Vertical Braces to the Wall
Mantel mount instructions emphasize locating wall studs using a stud finder for secure attachment. Position the vertical braces according to your desired TV height and width‚ ensuring they align with the studs. Mark the mounting holes precisely.
Drill pilot holes before inserting lag bolts‚ preventing wood splitting. Use a level to guarantee the braces are perfectly vertical before fully tightening the bolts. Double-check stability; these braces bear the entire weight. Improper attachment compromises safety‚ so meticulous attention to detail is crucial during this initial step.
Mounting the Horizontal Brace
Mantel mount instructions detail the horizontal brace’s critical role in supporting the TV’s weight and maintaining stability. Align the horizontal brace between the installed vertical braces‚ ensuring it’s level. Secure it using the provided bolts and washers‚ tightening them firmly but not excessively.
This brace often accommodates a sound bar; consider its placement now. Verify the brace is flush against the vertical braces for optimal weight distribution. A properly mounted horizontal brace is fundamental to a safe and secure installation‚ preventing potential accidents.
Connecting the Wings to the Vertical Braces
Mantel mount instructions emphasize carefully attaching the wings to the vertical braces. These wings provide the platform for TV mounting‚ so secure alignment is crucial. Use the designated bolts and washers‚ tightening them progressively in a cross pattern to ensure even pressure.
Double-check that the wings are firmly connected and don’t wobble. This step directly impacts the TV’s stability and safety. Proper wing attachment prevents tilting or detachment during use‚ guaranteeing a secure viewing experience.
Attaching the TV to the Mantel Mount
Mantel mount instructions detail carefully aligning the TV’s VESA mounting holes with the bracket on the assembled mount. Utilize the correct screws – often included with the mount‚ but verify compatibility with your TV model. Support the TV’s weight during attachment to prevent strain on the bracket.
Securely tighten all screws‚ again using a cross pattern for even distribution. Confirm a snug fit; any looseness compromises safety. This final step completes the installation‚ preparing your TV for optimal viewing.
Adjustments and Fine-Tuning
Mantel mount instructions emphasize leveling the TV for optimal viewing. Adjust tilt angles and full-motion range for personalized comfort and a perfect picture.
Leveling the TV
Achieving a perfectly level TV is crucial for both aesthetics and viewing comfort when following mantel mount instructions. Utilize a bubble level placed atop the TV screen to verify horizontal alignment. Most Mantel Mount systems offer micro-adjustment capabilities within the mount itself; carefully utilize these to correct any imbalances.
If minor adjustments aren’t sufficient‚ slightly loosen the mounting screws and gently reposition the TV. Retighten securely once level. Remember‚ an unlevel TV can cause eye strain and detract from the overall viewing experience‚ so prioritize this step during installation.
Adjusting the Tilt Angle
Proper tilt adjustment‚ as detailed in mantel mount instructions‚ optimizes viewing angles and minimizes glare. Many mounts feature a simple tilt mechanism – loosen the tilt lock screws‚ adjust to your preferred angle‚ and securely retighten. Consider your seating position and room lighting when determining the ideal tilt.
A slight upward tilt can reduce neck strain‚ while a downward tilt can combat reflections. Regularly check the tilt angle to ensure it remains comfortable and provides the best possible picture quality. Securely tighten all screws after adjustment.
Optimizing Full-Motion Range
Full-motion mantel mounts‚ guided by mantel mount instructions‚ offer extensive swivel and extension capabilities. Ensure ample space around the TV to utilize the full range of motion without obstruction. Carefully check for nearby walls‚ furniture‚ or décor before extending or swiveling.
Adjust the tension settings to achieve smooth‚ controlled movements. Over-tightening can restrict motion‚ while insufficient tension may cause drifting. Regularly inspect the mount for any signs of looseness and tighten as needed for safe operation.
Sound Bar Integration
Mantel mount instructions detail utilizing brace extenders and strategic horizontal brace placement for optimal sound bar attachment‚ ensuring perfect alignment.
Using Brace Extenders for Sound Bars
Mantel mount instructions often recommend brace extenders when integrating a sound bar with your setup. These extenders provide the necessary vertical space to accommodate taller sound bar models‚ ensuring secure and level mounting. If your sound bar’s mounting holes don’t align with the standard wing positions‚ lower the extenders and horizontal brace towards the sound bar’s base.
This allows the wings to point upwards‚ aligning perfectly with the sound bar’s installation points. Proper extender usage guarantees a stable and aesthetically pleasing integration‚ enhancing your home theater experience.
Horizontal Brace Placement for Sound Bars
Mantel mount instructions emphasize careful horizontal brace placement when a sound bar is included. Position the brace to provide optimal support and stability for both the TV and sound bar combination. Consider the sound bar’s weight and dimensions; adjust the brace’s location accordingly to distribute the load evenly.
Ensure the brace doesn’t interfere with the sound bar’s speakers or controls. Precise placement is crucial for a secure‚ balanced‚ and visually appealing installation‚ maximizing your audio-visual enjoyment.

Troubleshooting Common Issues
Mantel mount instructions often require adjustments; instability‚ leveling problems‚ or stud-finding difficulties are common. Double-check all connections and measurements carefully.
Mount Not Level
If your mantel mount isn’t level after installation‚ don’t force adjustments. First‚ re-examine the instructions and ensure the vertical braces are securely attached to wall studs. Use a quality level to check both vertical and horizontal braces independently.
Slight adjustments to the wing attachments can often correct minor imbalances. If significant leveling issues persist‚ loosen the brace connections‚ re-level‚ and carefully re-tighten all hardware. Confirm the mounting surface itself is even; shims may be needed for uneven walls.
Difficulty Finding Wall Studs
Encountering trouble locating wall studs is common during mantel mount installation. A reliable stud finder is essential; move it slowly and mark potential stud locations with painter’s tape. Verify findings by tapping – a solid sound indicates a stud.
If studs aren’t where expected (16” or 24” apart)‚ double-check your measurements and the instructions. Consider using a small nail to confirm stud presence before drilling. For solid concrete or brick‚ specialized anchors are required‚ bypassing stud location altogether.
Mount Feels Unstable
If your mantel mount feels unstable after installation‚ immediately address the issue. First‚ re-check all bolted connections‚ ensuring they are tightened to the manufacturer’s specifications as detailed in the instructions. Verify the vertical braces are securely anchored to solid wall studs or appropriate anchors.
Inspect the horizontal brace for proper support. If using drywall anchors‚ confirm their weight capacity exceeds the TV’s weight. A professional inspection is recommended if instability persists‚ prioritizing safety above all else.
Safety Guidelines and Warnings
Instructions emphasize weight limits and proper anchors for secure installation; Professional help is advised if unsure‚ preventing potential damage or injury during mounting.
Weight Capacity Limits
Instructions clearly state each Mantel Mount model has specific weight restrictions for TVs. Exceeding these limits compromises safety and can lead to mount failure‚ potentially causing damage to your television and surrounding area. Always verify your TV’s weight before beginning installation.
Consider the combined weight of the TV and any attached components‚ like soundbars. The mount’s capacity isn’t just for the screen itself. Ignoring these limits voids warranties and creates a hazardous situation. Prioritize safety by adhering strictly to the manufacturer’s guidelines.
Proper Wall Anchors
Instructions emphasize using appropriate wall anchors is crucial‚ especially when not mounting directly into wall studs. Drywall anchors alone are often insufficient for the weight of a TV and mount. Selecting the correct anchor type – toggle bolts‚ sleeve anchors‚ or similar – depends on your wall material.
For brick or concrete‚ specialized masonry anchors are essential. Never substitute anchors; always follow the manufacturer’s recommendations. Incorrect anchors can pull out under stress‚ causing the mount and TV to fall. Prioritize secure attachment for a safe and stable installation.
Professional Installation Recommendation
Instructions frequently state that if you’re uncomfortable with any installation step‚ or lack familiarity with the necessary tools‚ professional installation is highly recommended. Incorrect mounting can lead to TV damage‚ wall damage‚ or‚ most seriously‚ personal injury.
A qualified installer possesses the expertise to accurately locate studs‚ select appropriate anchors‚ and ensure the mount is securely fastened. They can also handle complex wiring and optimize the viewing angle. Don’t hesitate to seek professional help for a safe and reliable setup.
Mantel Mount MM540 Specific Instructions
MM540 instructions detail unique component arrangements and installation nuances; carefully review the included manual for pulldown adjustments and bracket alignment.
Understanding the MM540 Components
The MantelMount MM540 distinguishes itself with specialized parts. Key components include the vertical braces‚ designed for secure wall attachment‚ and the horizontal brace‚ providing central support. Wings connect to the braces‚ accommodating various TV sizes and weights.
Familiarize yourself with the pulldown mechanism‚ crucial for extending and retracting the mount. Note the included hardware – lag bolts‚ washers‚ and spacers – each serving a specific purpose. Understanding these elements before installation streamlines the process and ensures a stable‚ safe setup. Refer to the detailed parts list in your MM540 manual.
MM540 Installation Differences
The MM540 features a unique pulldown system requiring precise alignment during brace attachment. Unlike standard mounts‚ the MM540’s horizontal brace often necessitates careful positioning to accommodate fireplace mantels of varying depths.
Pay close attention to the wing assembly; ensure proper orientation for smooth extension and retraction. The MM540’s design prioritizes minimizing obstruction of the fireplace view when the TV is retracted. Always double-check weight distribution and secure all connections according to the provided manual for optimal performance and safety.

Resources and Support
MantelMount’s official website provides detailed guides and FAQs. For direct assistance‚ contact their customer support team for expert instructions and troubleshooting.
Mantel Mount Official Website
MantelMount.com serves as the primary hub for all installation-related resources. You’ll discover comprehensive instructions‚ downloadable manuals for various models – including the MM540 – and helpful video tutorials demonstrating each step of the process.
The website also features a robust FAQ section addressing common questions and troubleshooting tips. Furthermore‚ it provides access to detailed specifications‚ compatibility information‚ and replacement parts ordering. Regularly checking the official site ensures you have the latest instructions and support materials for a successful and safe installation.
Customer Support Contact Information
For personalized assistance with your mantel mount instructions or any installation challenges‚ contacting Mantel Mount’s customer support is recommended. While specific details weren’t provided‚ their official website‚ MantelMount.com‚ is the best starting point to locate current contact methods.
Expect options like a dedicated email address for support inquiries‚ a contact form for submitting questions‚ and potentially a phone number for direct assistance. Having your model number readily available will expedite the process‚ ensuring they can provide tailored instructions and guidance.